|
Caravan Floor Delamination Repair
Oct/Nov 2012
I had considerable help in
doing this job thanks to these two websites :
Wizards
Caravan Repair Website - Delamination Instructions
Brian
Davies Carvan Floor Delamination Repair Blog

Caravan in storage ready for carpet removing and bathroom door removal.
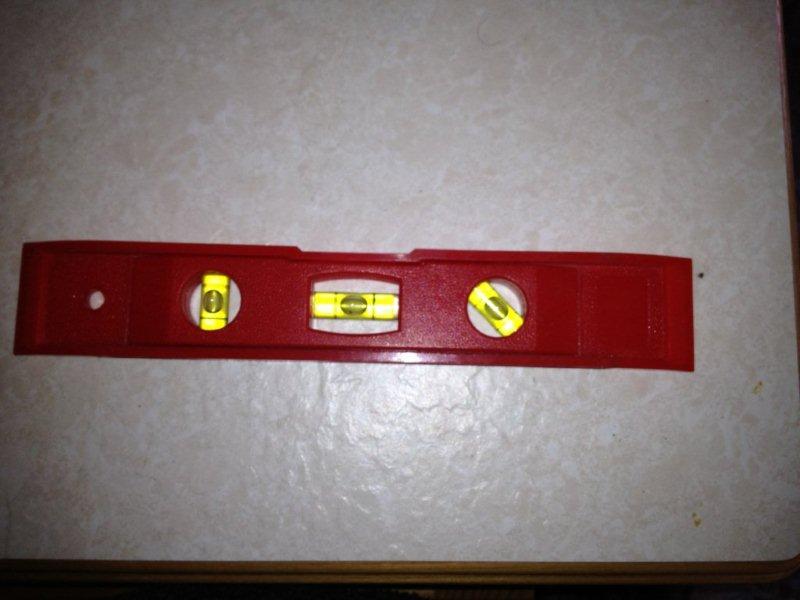
First ensured caravan was as level as possible, front to back and left
to right (not easy in storage!)
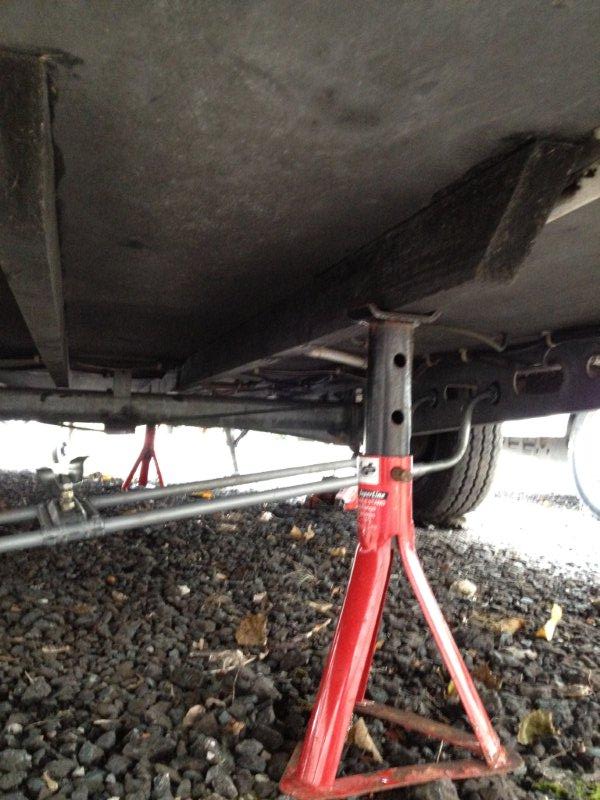
Current wrongly installed floor beams/braces supported from below with
jack stands.
(The previous owners had tried to cure a small patch of
delamination by bolting 10ft long beams to the underside of the 'van,
this caused the delamination to get worse, and to spread as the bolts
holding the beams compressed the existing foam sandwich floor making the
small delaminated patch grow as we walked on it)
While I was under the van, I taped up all seams
and gas drop vents, and any other vents/holes I could find with v strong
black tape
(Gorilla tape I think it was called?)
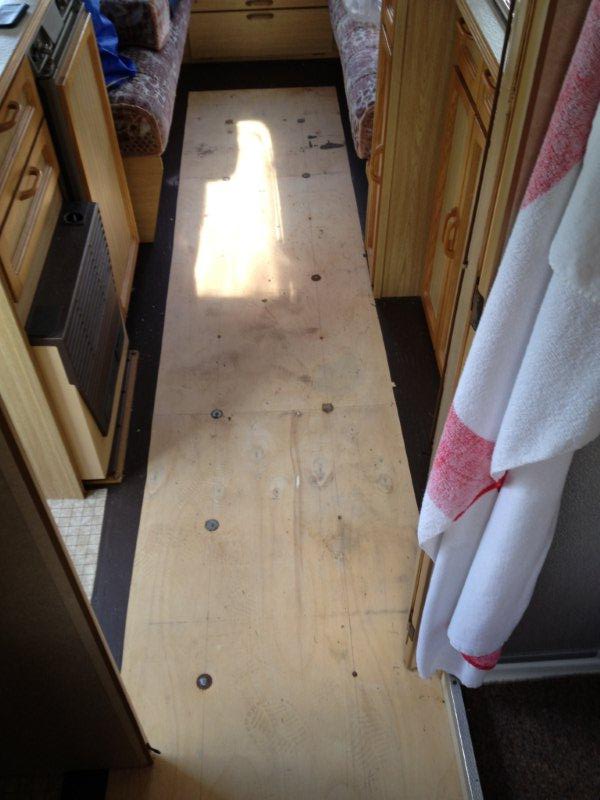
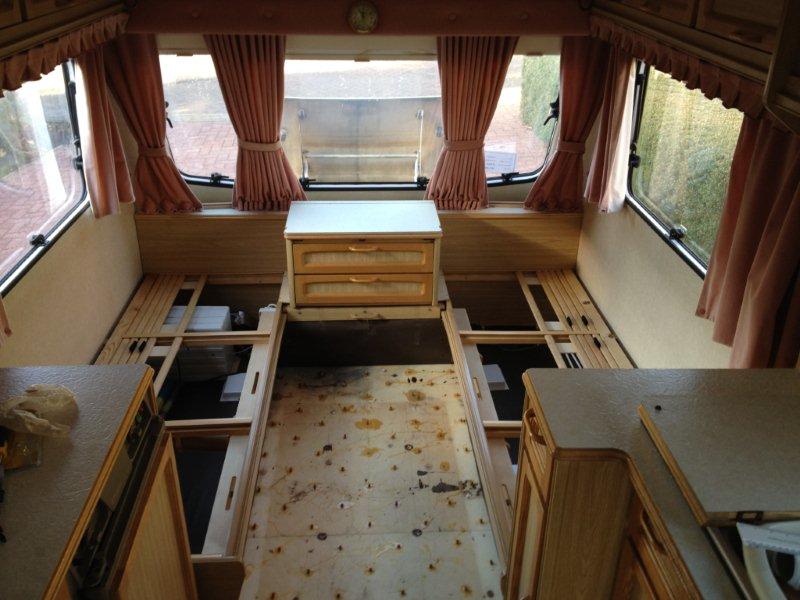
Current floor, with carpet removed, note bolts running down entire
length for aforementioned 'bracing'
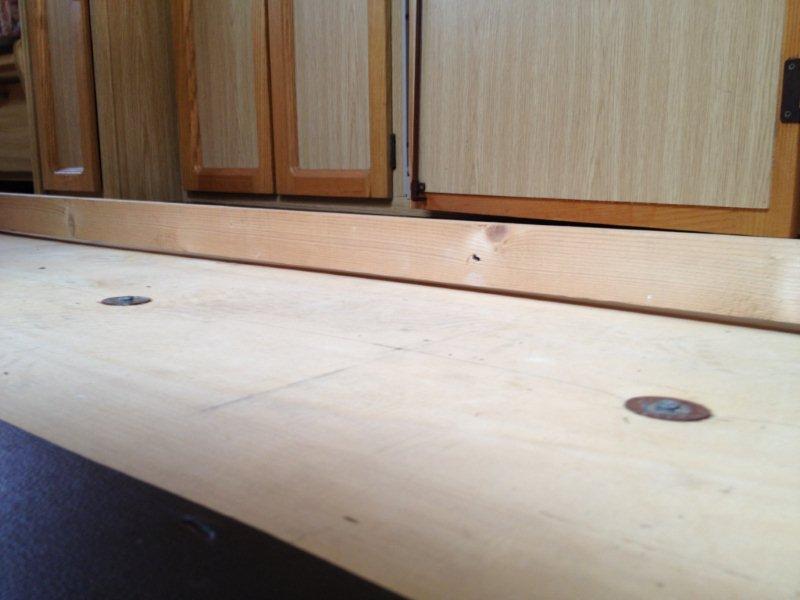
Batten laid on the floor showing how the floor dips front to back (this
is the kitchen area in front of the sink)
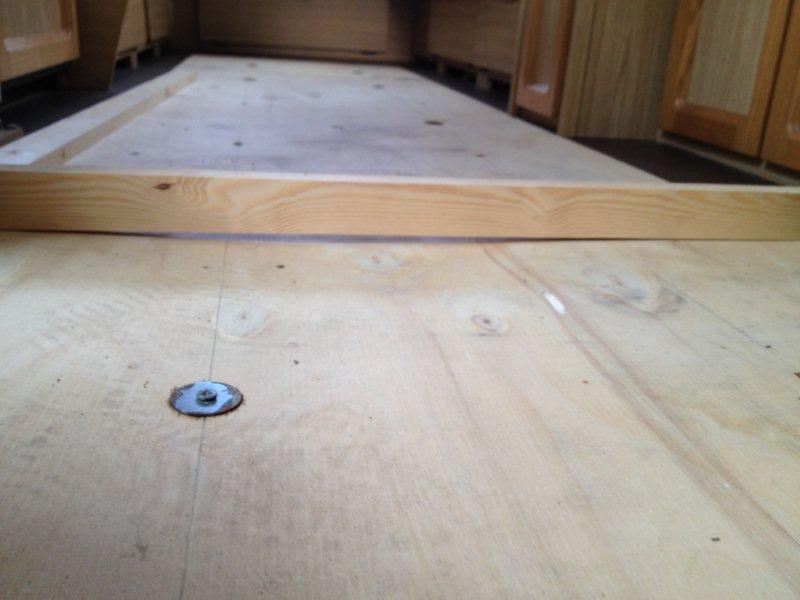
Batten laid side to side, from near fridge to near sink, you can see how
the floor has dipped (even without weight on it)
due to the bodged bracing the previous owners bolted to the floor and
subsequent delamination.
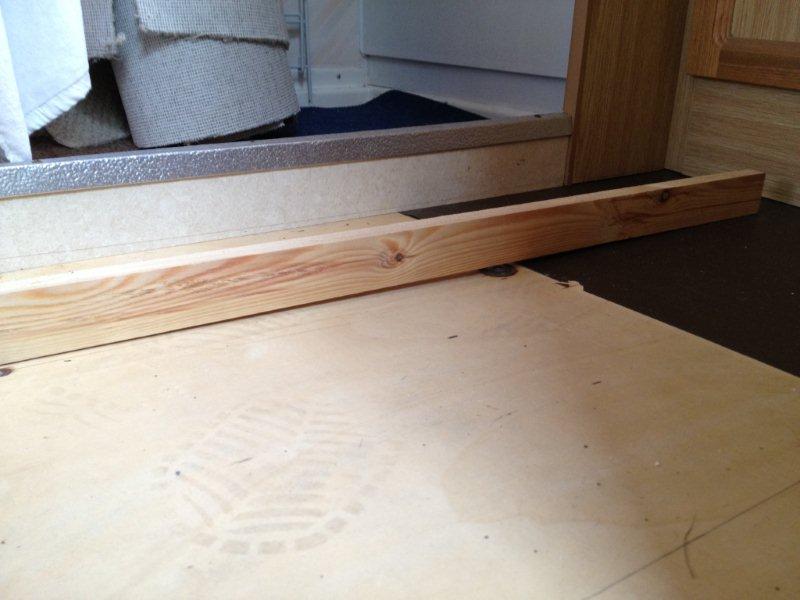
Batten laid front to rear direction in front of the shower/loo cubicle, you can see how
the floor has dipped (even
without weight on it) due to the bodged bracing the previous owners bolted to the floor and
subsequent delamination.
Before doing anything else I
removed ALL the screws holding the two braces to the underside of the
'van - they were still supported though, so that they didn't just fall
off, in fact I used them with the jack stands to provide support from
underneath, but all the screws holding them in place were removed.
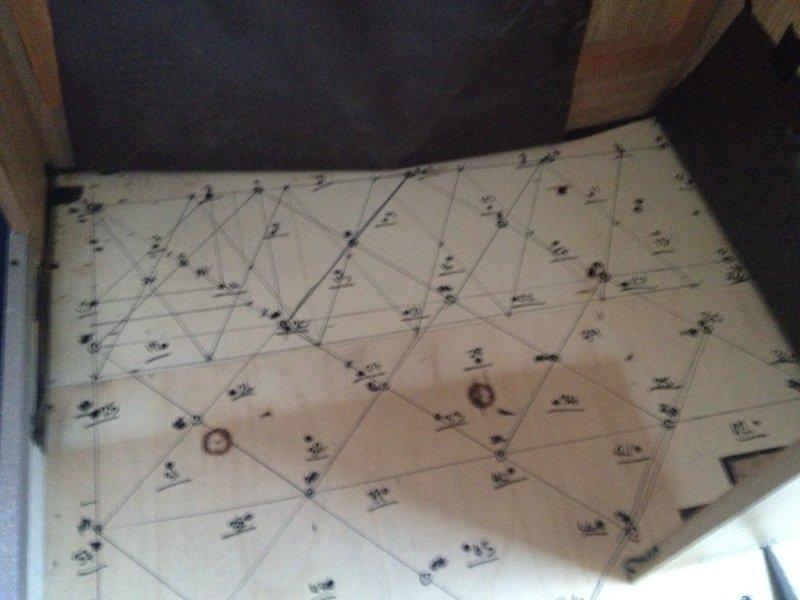
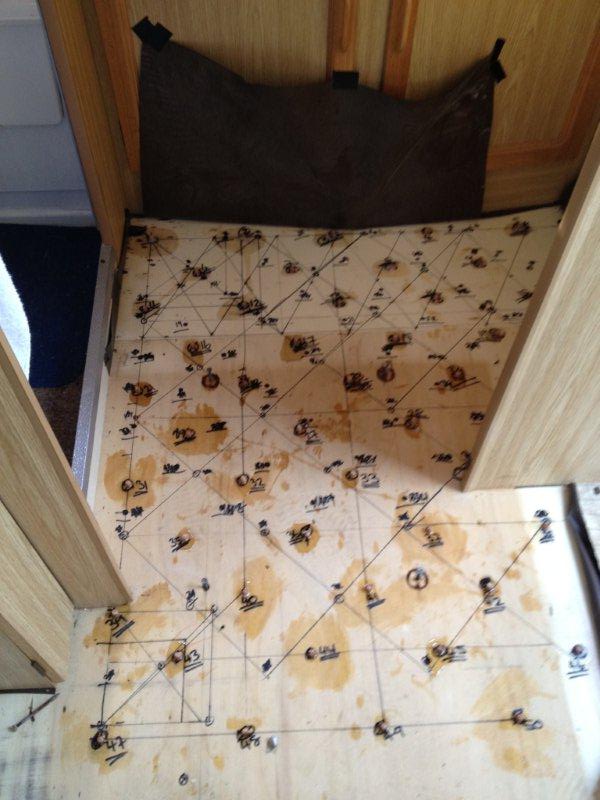
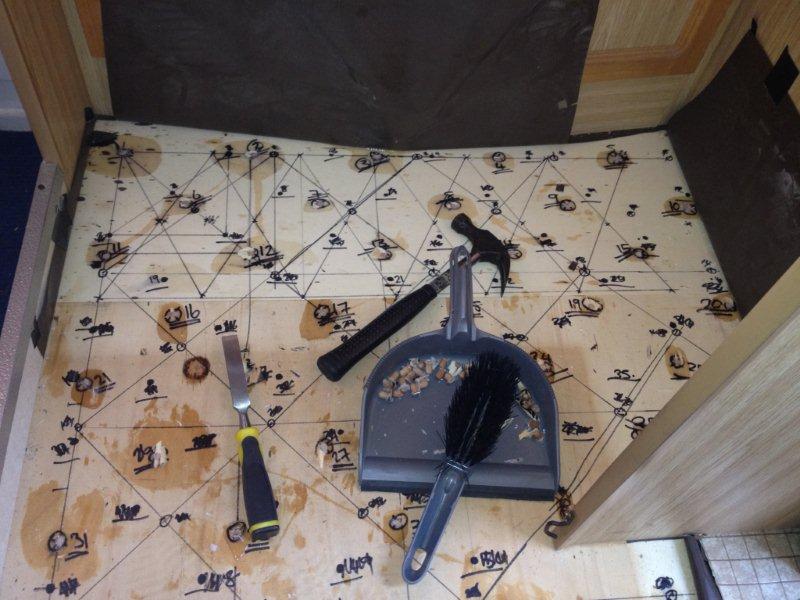
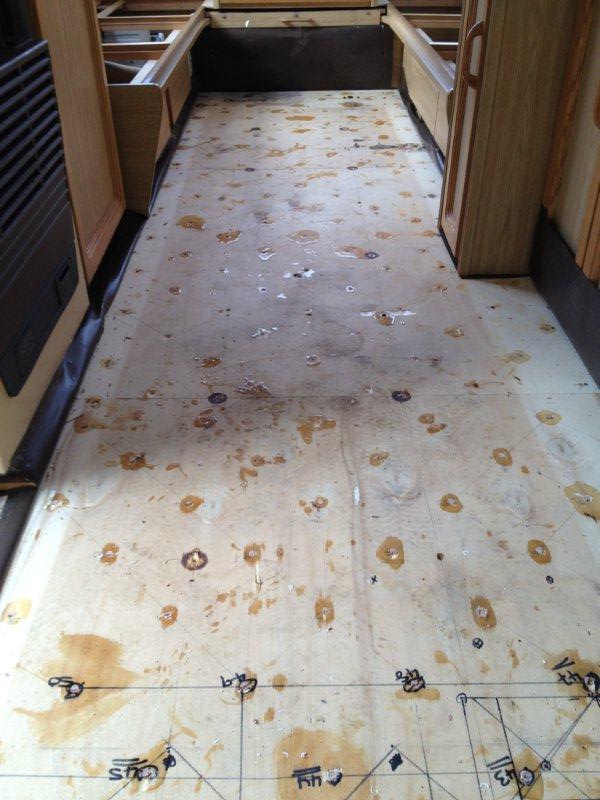
My somewhat creative attempts at coming up with a logical diamand
pattern ready for drilling the holes for the glue - needless to say it
took me a few hours to get my head round this, what a complete mess -
wishing i'd used pencil... this is in front of the bathroom sink.
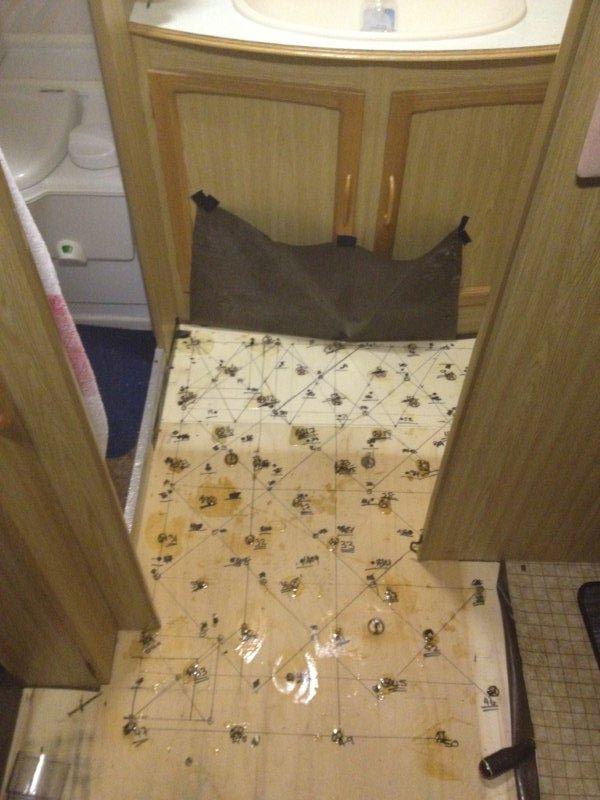
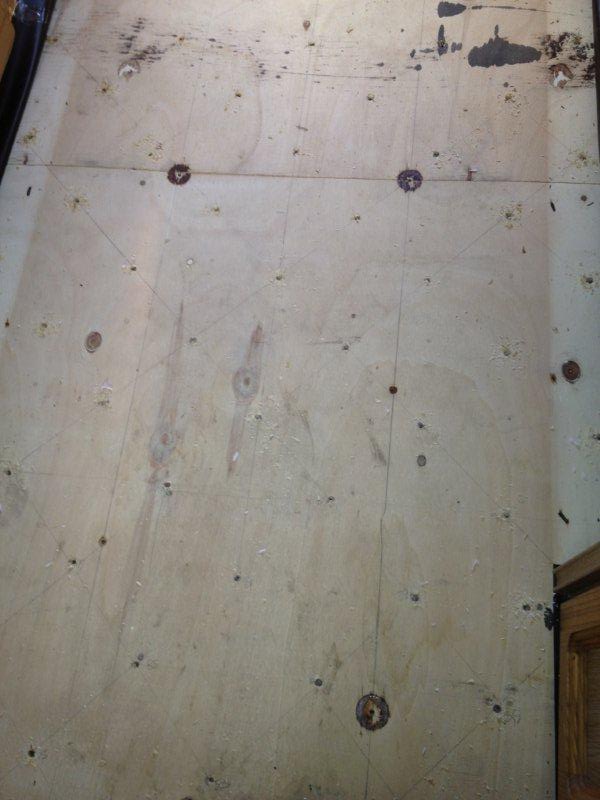
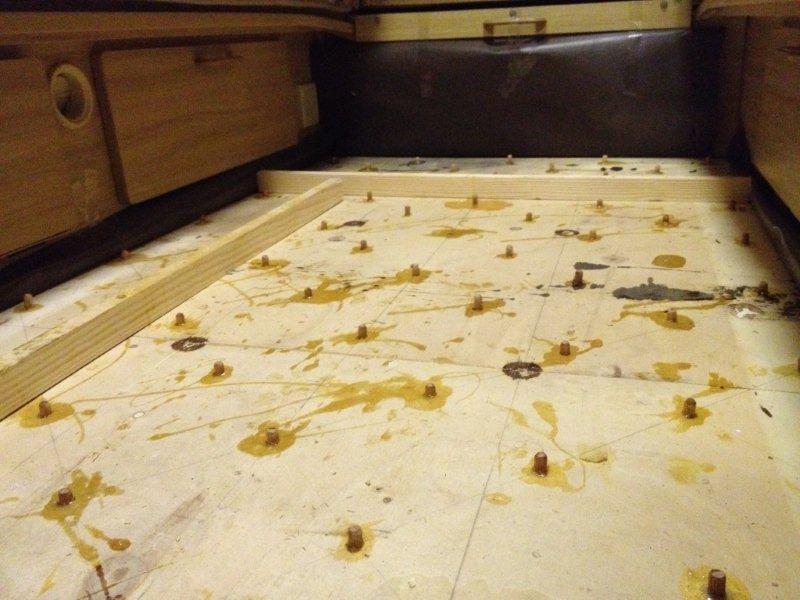
The same area as the previous shot, but this time with the holes
drilled, and the glue injected, and the dowels inserted.
This was as far as the glue kit went. Approx 50 holes at 4inch
intervals. I numbered them after I drilled them, and counted the number
of dowels supplied in the kit, to make sure as I went along that I had
enough to do the area I'd glued.
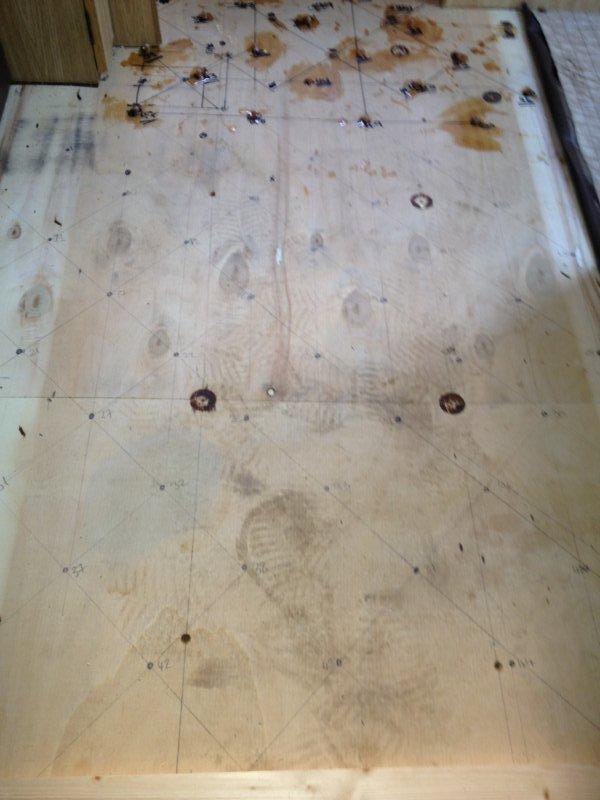
This is the same area as the previous shot, but a few days later once
left to cure. It was late October so quite cold so I think I left
it a week to dry. This area now seems rock hard, and no bounce at all.
I move on to the next area, in front of the kitchen.
I went under the van and moved the supporting jack stands to under the
kitchen area. They didn't push up the floor, just enough pressure to
stop the floor dipping with any weight I put on when the glue dried.
This is a high traffic area, and where the delamination had 'felt' under
foot to be worse. The dip in the floor here was quite bad, even
when not walking on it. This is the diamond pattern I settled on after
the previous mess in the washroom area. Marked and ready to drill.
I drilled another 50 or so holes, as I'd only go one more kit of the
glue, so this is the same kitchen area, drilled appox 50 holes.

Another shot of the kitchen area, diamond pattern, drilled.

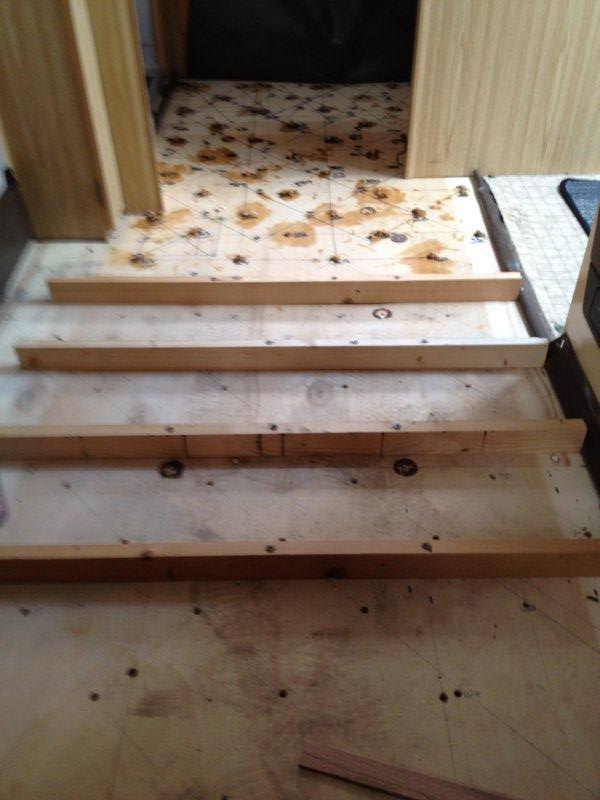
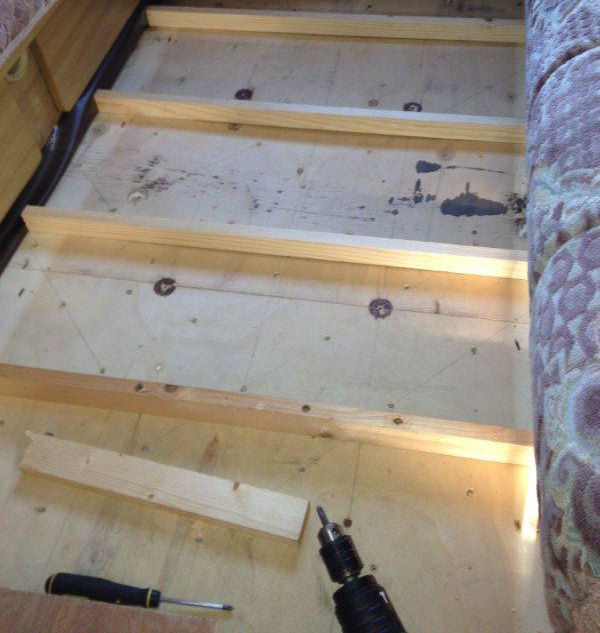
As there was a dip in the floor I cut battens to screw into the very top
layer of floor ply. These were screwed down so as to 'lift' the top
layer of ply to try remove the dip in the floor. The battens only cover
the area I am repairing at this time (the 50 holes that the kit will
do).
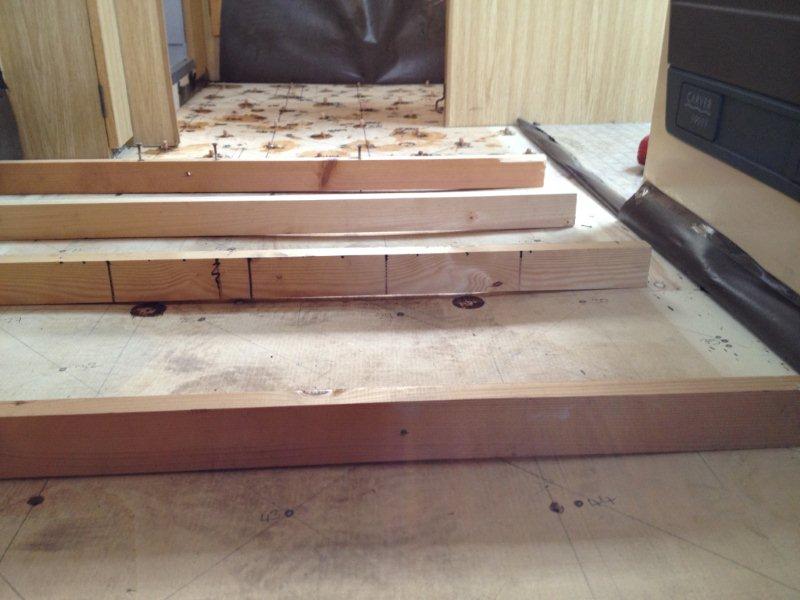
These are the aforementioned battens, but BEFORE they were screwed down,
you can see how the floor dips underneath each one.
Not a great shot, but the battens are all screwed down now, with the
screws only just going into the top layer of ply, to lift it flat again.
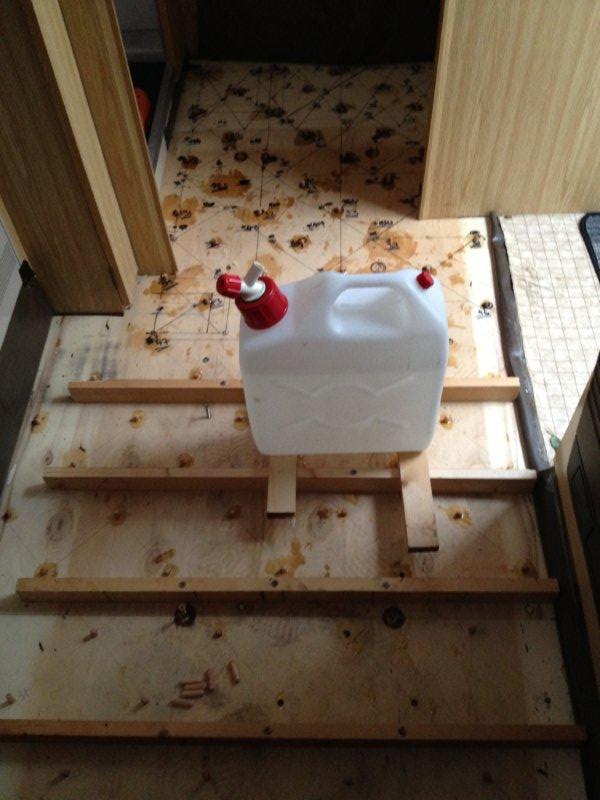
Bit of a jump in proceedings in this shot, this is as far as the 2nd kit
got - the kit is meant to do an average 1m squared. I guess as the
delamination was so bad here and the foam layer so badly squashed that
the resin only filled a small area. I added a water can to the battens
to stop the floor bowing upwards (it is supported below remember with
the jack stands).
This was left another week to fully
dry out.
As I was impatient I wanted to feel what the bathroom area felt like
under foot, so as this area had now had two weeks to fully cure I
chipped the tops of the dowels off so i could walk on it and feel how it
felt. GREAT, rock hard, no more bounce, creak and spongeyness.

This is a shot of the diamond pattern looking forward into the lounge
area, I had originally thought that this area hadn't delaminated, but
upon closer inspection, and using the straight edge of the batten, I
could see it had started to go a bit, so I ordered even more of the
delam kits from ebay (LINK
to where I bought them from) GW Caravan Services.
Seemed daft as I'd got the caravan in this state not to bother doing
this area as it has started to go a bit anyway. Might as well stop it in
its tracks.
Looking forward from the kitchen area, into the lounge, diamand pattern
and holes drilled.
Some more battens ready to lift the top layer of ply to flat again -
this area wasn't as badly dipped as the kitchen area.
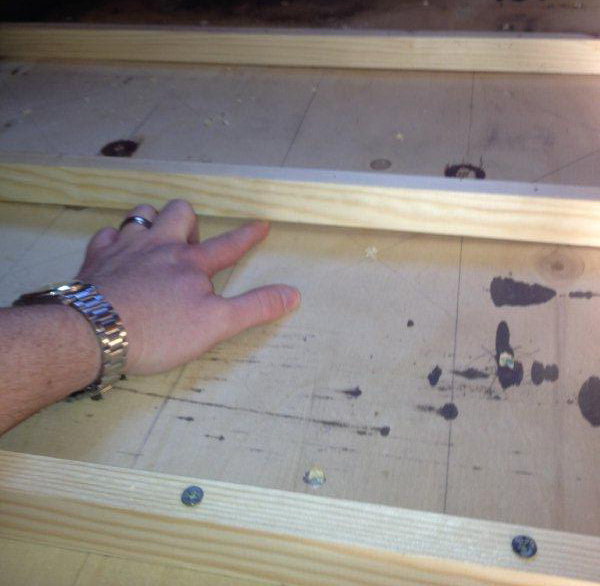
Here's an idea of the dip, you can see the edge of my finger just fits
underneath the batten!
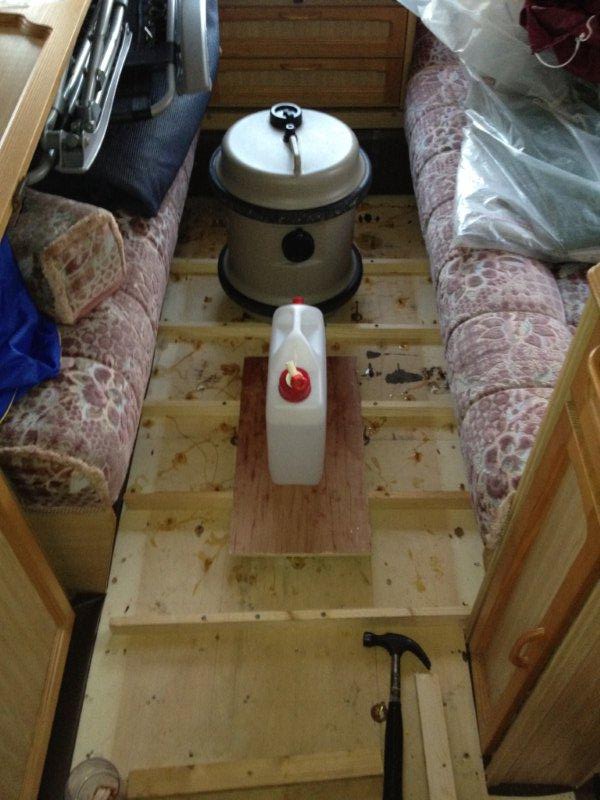
Fast forward a bit, and now I working front to back, towards the door
from the front of the van. This is approx 100 holes, drilled and glue
injected and dowels inserted. The aquarol and water carrier providing a
bit of weight onto the battens. I'd also moved the jack stands
underneath to support this area.

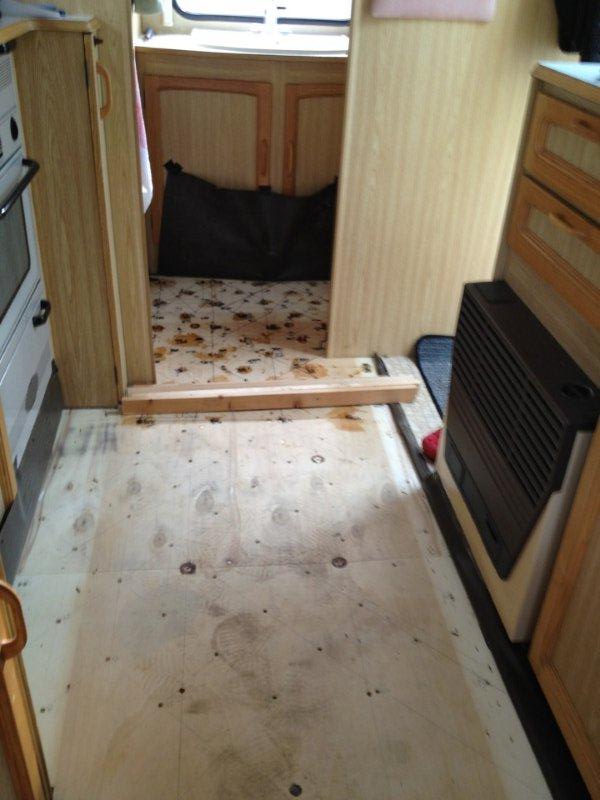
Fast forward again, the lounge area was left to dry and this is moving
back torward the kitchen again. This has been left to dry and the
battens are being removed - see how the floor is now much more level
(not perfect but MUCH better than before).

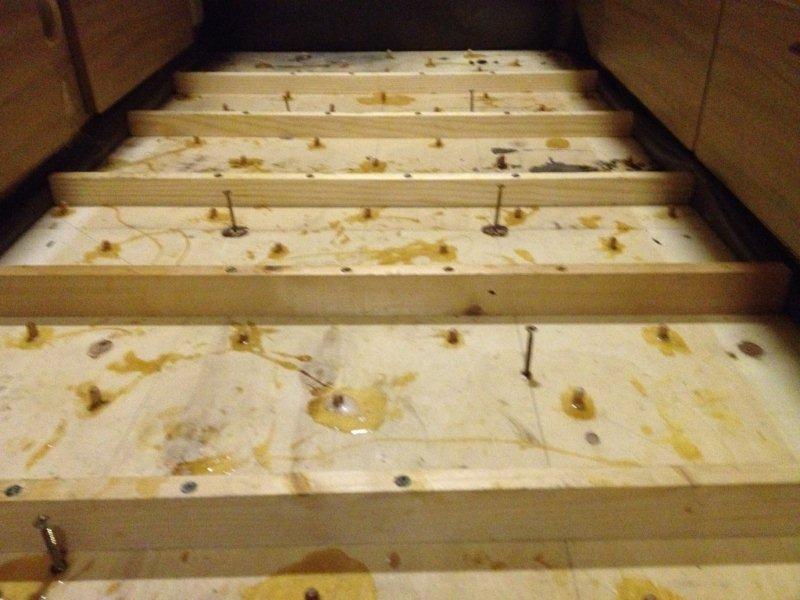
Looking forward into the lounge area, battens in place, glue dried. Note
how you have to be quick to get the dowels in, as sometimes the resin
flows out quite quickly! This proves to be a pain in the bum to remove
later on....
Similar shot as before. The screws you can see are filling the holes
that were left from removing the screws that went through the floor to
support the 'beams' that were running down the length of the 'van - the
cause of this nightmare!
This is the lounge area, but all dried and the battens removed, the two
in this shot are there to show the now much flatter floor with barely
any 'dip'.
So that is the whole 'van floor supported, marked up, drilled, brushed,
braced, injected, doweled and left to dry (if only it was easy as that)
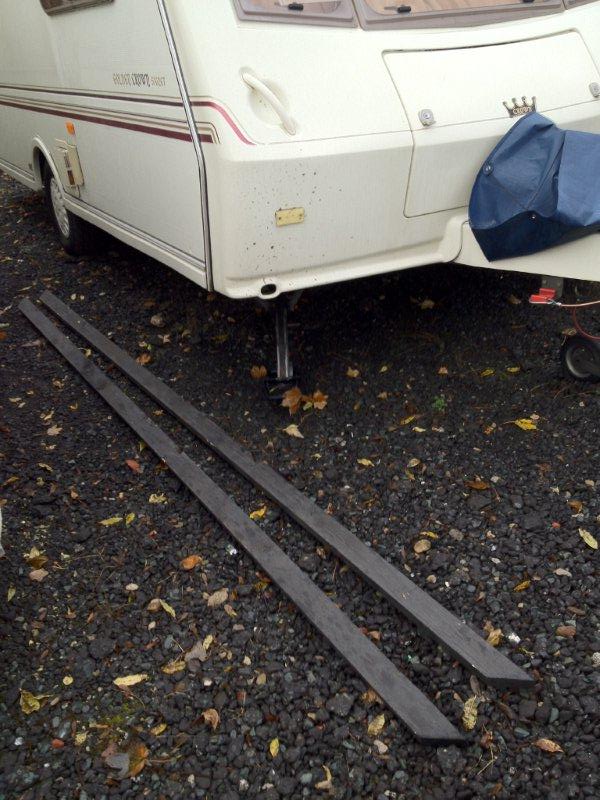
As the entire van has had a while to dry the supports were removed from
underneath and the two offending 'braces' removed from the underside of
the van. Here they are ready to go on the bonfire!!!!!!
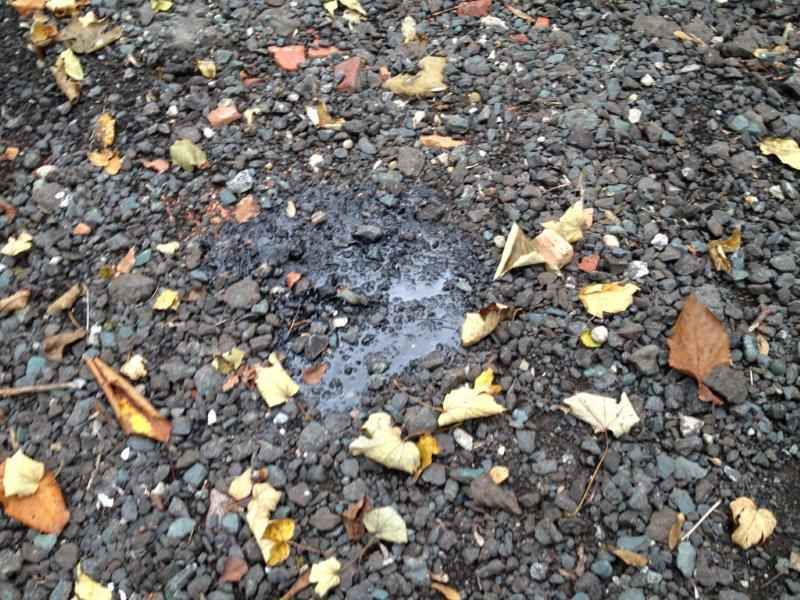
This is what happens if you're not extra careful when injecting the
resin. KEEP checking as you go along that its not found a way out, and
when you do inject it, be gentle, don't force it, I did and it forced
some of the tape off the underside of the van, so this is a now a very
sold resin puddle underneath my 'van!! (and a waste of bloody resin too)
As there's no power supply I brought the van home so that I could use an
electric sander on the floor.
The 'van is ready to have the
dowels chipped off with a chisel.
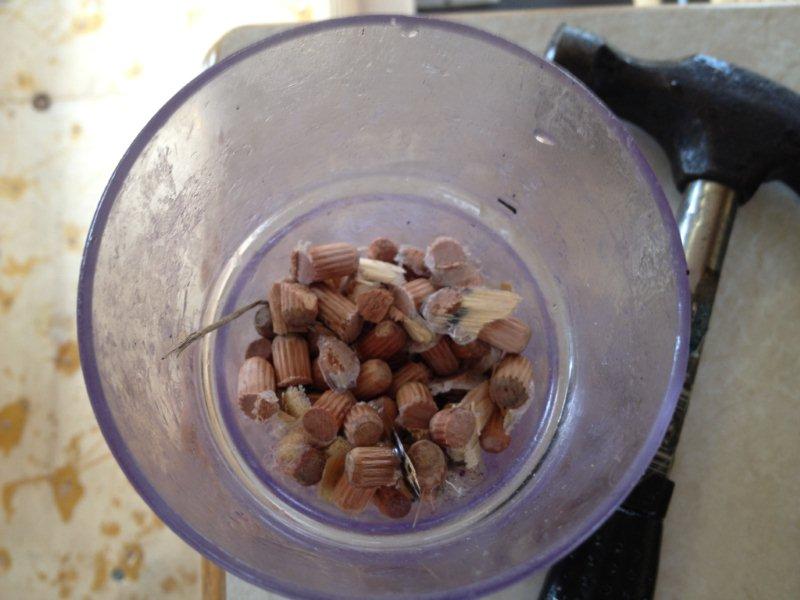
Some of the dowels chisselled off.
From back to front, all dowels chisselled off.

Part way through sanding off the excess resin. This was a right pain to
do, and took forever. I'd try get hold of a good belt sander to do this,
as the tiny palm sander I had took forever and a lot of replacement
sandpaper pads!
I did test the floor out and it
feels SO much better, no creaking, no springyness or spongeyness, I am
very very pleased with how it went.
Ok so it cost me about £150 in
floor delamination kits but to pay a dealer to do an entire 'van floor
would be edging towards a £1000 I imagine.....!
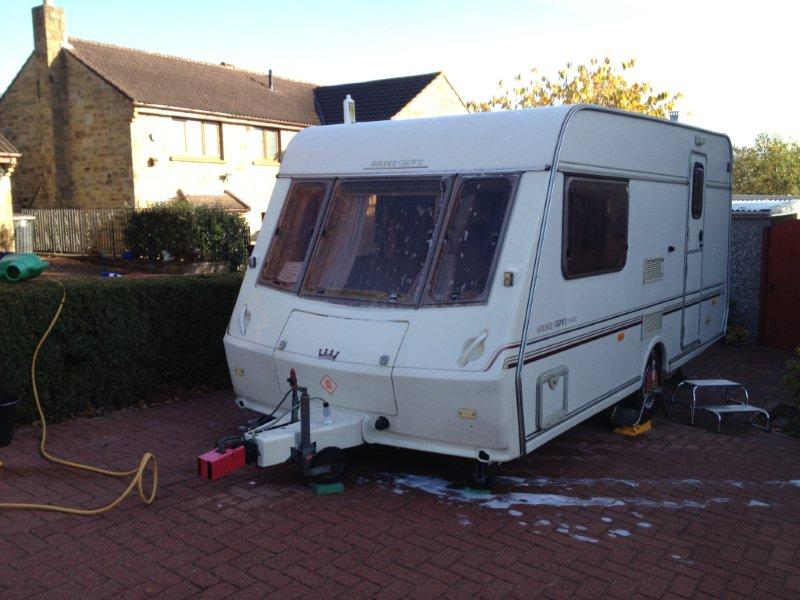
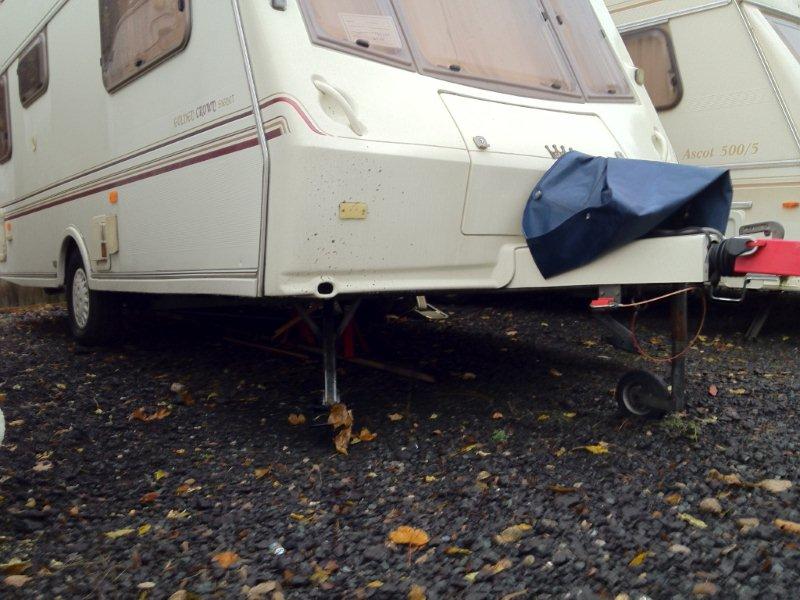
Being daft as I am, I thought while its dry I'll give the caravan a wash
before I carry on with the job, and so here's the caravan being
washed....
Sadly folks, this is where the story of the delamination repair
ends...
Moments after I took this shot, I
fell of the ladders I was using and broke both my elbows and my left
leg.
My left leg went in between two of
the rungs as I fell and the weight of my body twisted my leg into a
position it shouldn't go into, and I hit the deck!!!!!
I was taken to hospital, plastered
up and here's the result!
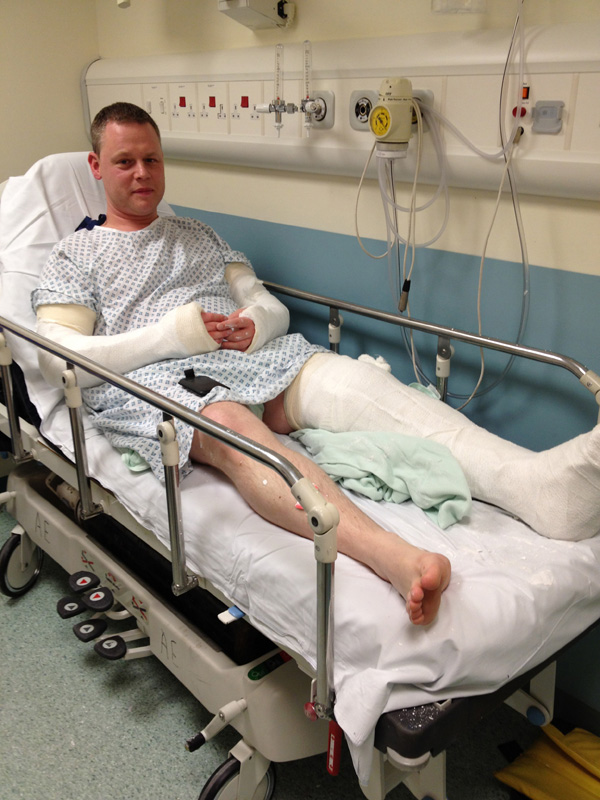
This was 18th November, 2012.
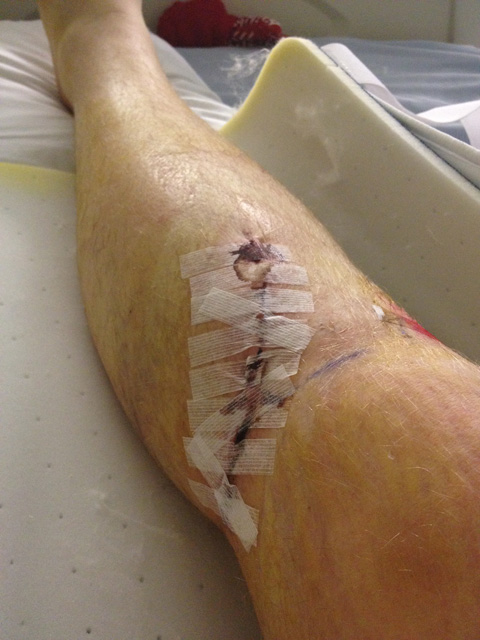
Post op scar (sorry)
I had a lateral tibial plateau fracture
- and two radial head fractures of my elbows
Had to have a plate and screws to pull it all back together.
I was only hospital a week thank god as I proved to the staff that
despite the pain I was in i could use crutches to get myself around.
I was NOT staying in over Christmas.
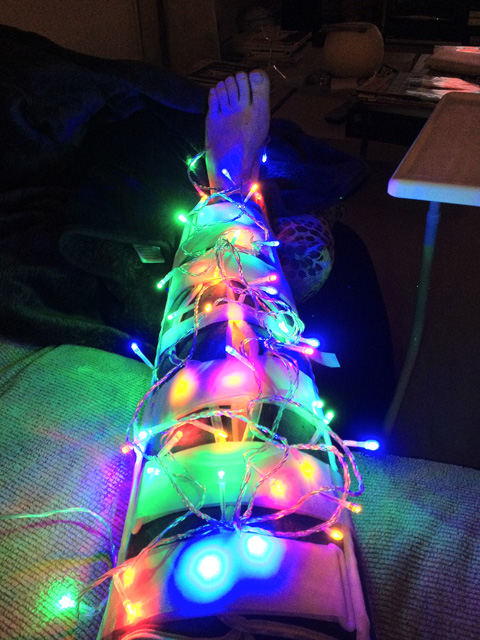
I was lucky I live in a single
story lodge house and my OH is at home at the mo to look after me.
As you can see I tried to get in
the festive spirit with the leg brace!
So today is 17th February
2013 13 weeks later and I am now only just able to start weight
bearing on my left leg.
I still have crutches and can't
walk without them, but am assured I will in time.
I am having physio and have
excercises to do daily to build the strength up in my leg.
Thankfully work have been great,
and on Friday I did my first day working from home (I am a web designer
so can work from home).
The poor caravan is still in a
state of disrepair, with the carpet needing to go back down and the
bathroom door to go back on.
Once I am mobile again I will
finish it off and we'll be away holidaying again with a newly firmed up
floor.
cheers,
David Bell
~
Useful Links
'Wizzards'
Caravan Repair Index
Aloadofnonsense
- Holidays, crusing and caravanning blog - an excellent read!
~
|